My art room looks like an angry Christmas elf tore through it. The floor is covered in scraps of paper and assorted pieces of gift wrap, and both my desk and my craft table are overflowing with glue, tape, paint, stamps, ribbons, bobbles, and other materials. Why so much chaos? Because I went a little crazy making Christmas gift wrap and wrapping gifts and, as I mentioned in a previous post, when I'm in the middle of something there is no way I'm going to stop to clean up.
Sunday I gathered up all the gifts I'd wrapped to take them downstairs to photograph. I closed the door to the art room and haven't gone back in there since. I'm a little afraid. The mess was definitely worth it though, since I was able to make so much fun stuff. I made four different types of wrapping paper, some bows, and some gift tags. They all turned out so well, I'm not sure I'll ever be able to bring myself to buy gift wrap again.
The gift wrapping madness started at my annual Christmas crafting party. Usually we stick to ornaments, but this year we branched out to gift wrap. My friends Kelly and David made this gorgeous wrap using stamps they made from craft foam. I tried a couple of ideas but neither of them worked out that well so I spent the rest of my time decorating gift labels. These white ones were outrageously expensive at a craft store. I later went to an office supply store and got a much better deal on shipping labels, though they aren't quite as nice.
For the labels I cut up some old gold doilies, using different parts of the doilies to make different patterns. I also used a little kit of dollarstore embellishments to make some more designs, which you can see on some of the presents below.
I wasn't ready to give up on the wrap, however, and decided to try again, with some tweaks. The first time that I tried this technique to make a stamp roller, I figured I could save the roller by glueing pieces to the outside plastic wrap that it came in. It didn't work at all. I took the plastic off, stuck my foam stars right to the sticky tape, and it went much better. The only thing I would add is that you can't put too much paint on the roller or it will just slide, instead of rolling. Other than some smooshy stars on the edges, my second batch of star wrap turned out lovely.
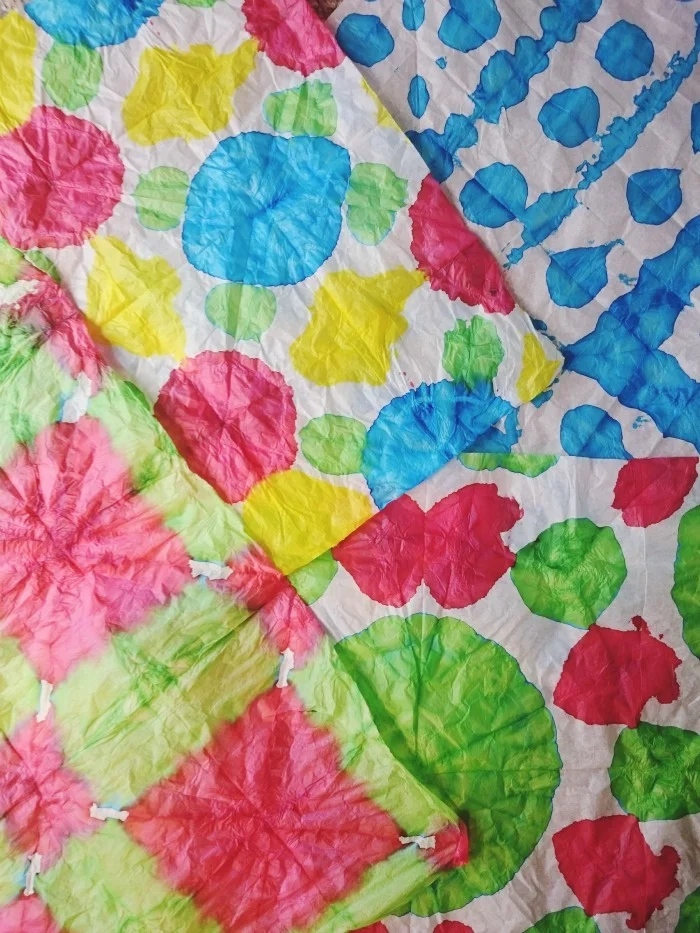
My second experiment was using these instructions to tie-dye tissue paper. I got it in my head that dying two or three sheets at once would be better because the tissue is too thin to use as gift wrap by itself. Don't do that. The ink didn't make it all the way through the tissue, so my patterns were splotchy and inconsistent. It worked much better when I folded one sheet at a time. I was really impressed with how nicely these turned out. I did some with food colouring and some with India ink. The blogger said that ink would need to be diluted (not the food colouring) and though I mixed in quite a bit of water, I found that once they had dried, the pages still stuck together too much for me to be able to pull them apart. I'll definitely stick with food colouring in the future.
I also made a simple paper using an old Stampin' up snowflake stamp that I've had for years. I tried to make nice neat rows, but didn't worry about it too much. I used my other snowflake stamps to embellish some more gift tags.
To make the gift bag in the photo above, I used this simple tutorial. It took about a minute and made me wonder why I've ever tried to wrap oddly shaped present the regular way before. This is so much easier.
My final experiment was with splatter paint, and this was probably my favourite. I used watered down poster paint in black and silver and just dipped and flicked a fat brush across the paper. It looks festive and modern and I can't wait to make more. In the photo above I'm putting to use the gift wrapping skills I learned working five Christmases at a chocolate store, making perfect corners every time.
A note about paper: I had previously bought some Kraft paper that was way too thick for gift wrap. When you taped the edges, they would just pop back up again. I found another roll at an office supply store that was the perfect thickness. It holds folds and tape well, and isn't thin enough to rip like regular gift wrap does. I also got a roll of white paper from Ikea, but it was a little on the thick side as well, and the roll wasn't as wide as I would like.
Finally, I made some bows inspired by this tutorial. I used magazines for the first ones, as she does, and I was amazed at how easy it is! Again, never spending money on these bows again. My mom gave me some old quilting magazines that are filled with beautiful colours and patterns perfect for making these. I also made some with felt and they turned out really cute too.
This was a great way to spend a few hours around the holiday season, and the gifts look lovely piled up under out tree. I'm especially thankful that I was motivated to get most of my shopping done early so that I would have plenty to wrap for this post! Now to deal with the mess left behind...


